Getting started
Getting started with ProdBord
ProdBord puts every order you need to make on one board, split into the stages you work in. This guide takes you from a new account to a board with jobs on it.
ProdBord isn’t open for sign-up yet. These guides describe the app as it works in testing, and will be kept up to date at launch.
On this page
Choose how you’ll use ProdBord
There are two ways in, and the right one depends on whether you sell on Shopify.
| Through Shopify | Directly | |
|---|---|---|
| Best for | Makers who sell on Shopify, with or without Etsy | Makers who sell on Etsy, take orders by hand, or both |
| Orders on the board | Shopify, Etsy and jobs you add yourself | Etsy and jobs you add yourself |
| New Etsy orders | Brought in with Import latest Etsy orders | Arrive automatically |
| How you sign in | From your Shopify admin | Email and password, with optional passkeys and two-step verification |
| How you pay | On your Shopify bill | By card, through Stripe |
| Rules that add orders automatically | Yes | No |
If you start directly and later open a Shopify store, you can move your workspace into Shopify and keep everything. See Shopify or direct.
Set up through Shopify
- Add ProdBord to your Shopify store and approve the charge in Shopify. Any free trial is shown by Shopify before you approve.
- Open ProdBord from the Apps section of your Shopify admin. The home page shows your setup steps.
- Choose Check for new orders to bring in your recent Shopify orders. This doesn’t add anything to production yet.
- Choose Review new orders to open Order intake, and add the orders you need to make to the board.
- Open the Production board. It opens in its own window, so you can keep it on a second screen or a workshop tablet.
ProdBord reads orders from Shopify. It needs read access to orders and products and doesn’t change anything in your store.
Set up directly
- Create an account with your email address. We email you a code to confirm the address, then you choose a password of at least 12 characters.
- Name your workspace, usually your business name. You can change it later.
- Start your subscription. You add your card in Stripe’s secure checkout, and the page tells you the trial length and price before you leave. If your account has already had its free trial, the subscription starts straight away.
- Once the subscription is confirmed, choose Open Production Board.
Each account gets one free trial. Closing a workspace and starting a new one doesn’t give you another.
Set up your stages
Your board starts with the Made to order stages: New, Design, Making, Quality check, Packing and Shipped. Change them in Workflow, or create another board from a template in Boards.
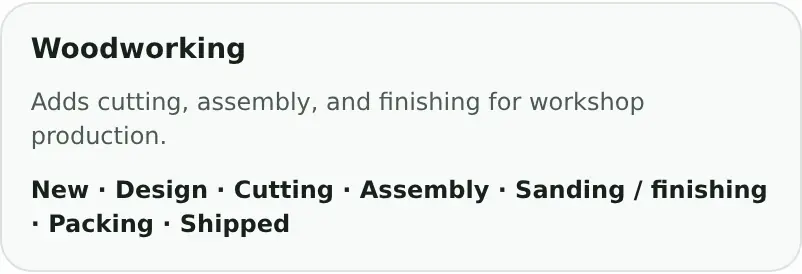
- Rename, add and reorder stages at any time in Workflow. New stages go in before the final stage.
- Delete a stage once it’s empty. Move or complete its jobs first.
- Templates replace a board’s whole set of stages, so they can only be applied to a board with no active jobs.
While you’re in Workflow, give your busiest stages a target time and a capacity. These are what ProdBord uses to flag late jobs and bottlenecks. See Capacity and target times.
Connect Etsy
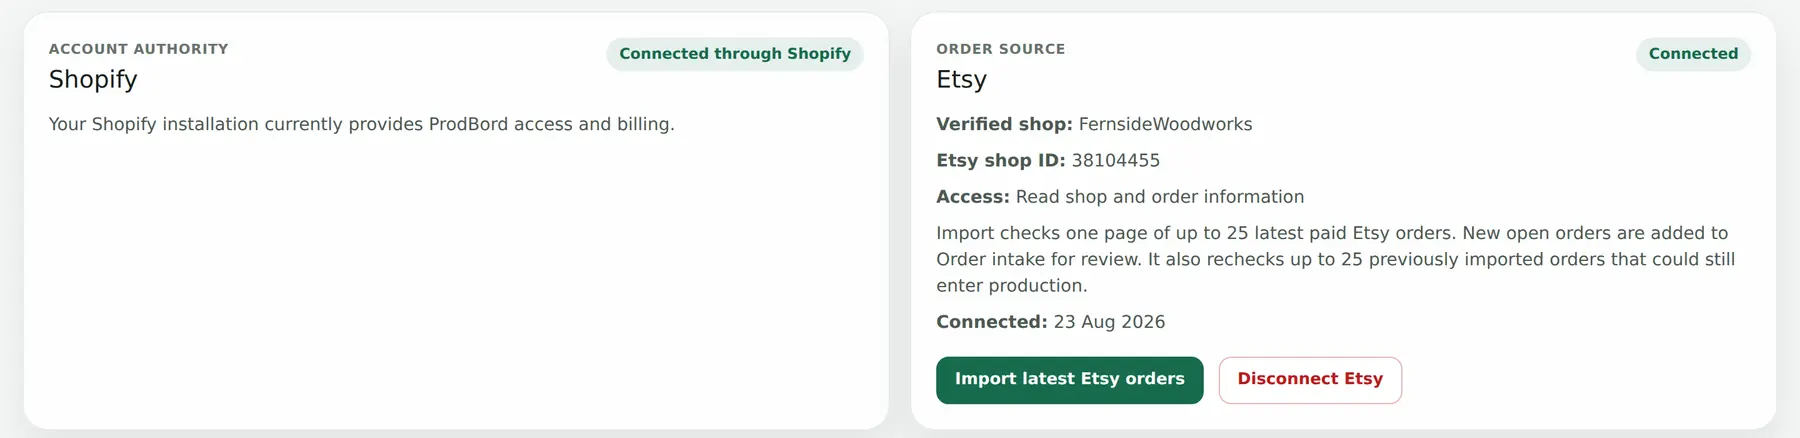
- Open Sales channels and choose to connect Etsy.
- Sign in to Etsy and approve access. ProdBord asks only to read your shop and its orders.
- If you use ProdBord directly, new paid Etsy orders then come into Order intake on their own. Through Shopify, choose Import latest Etsy orders whenever you want to bring them in. It checks your 25 most recent paid orders, and you can use it on a direct account too if you don’t want to wait.
You can connect one Etsy shop to a workspace.
Get your first jobs on the board
- From an order: open Order intake and choose Add to Production board.
- By hand: on the board, choose Add job for commissions, wholesale, repairs or market stock.
Then move each job along as the work progresses, and choose Mark completed when it’s done. The production board explains the rest.